How to Split Bills in Multiple Currencies with Lightsplit

Five friends, five days in Tokyo. Every expense is in Japanese yen. A meal costs ¥4,500, train passes ¥12,000, a shopping haul at the drugstore ¥8,600... the numbers are huge and you lose track fast.
Then you get home and it's time to split the bill. "How much is ¥4,500 in dollars?" "Which exchange rate do we use?" "Who overpaid? Who still owes?"
You open a spreadsheet and start calculating. Halfway through, you're ready to give up. Looking up exchange rates, converting amounts, figuring out who owes what. It's a total nightmare, right?
Good news! Lightsplit supports multi-currency splitting
No more calculating exchange rates yourself. Lightsplit lets you record expenses in different currencies within the same group, and the system handles all the conversion automatically. At the end, it tells you exactly who owes who and how much.
Here are four features that make it work.
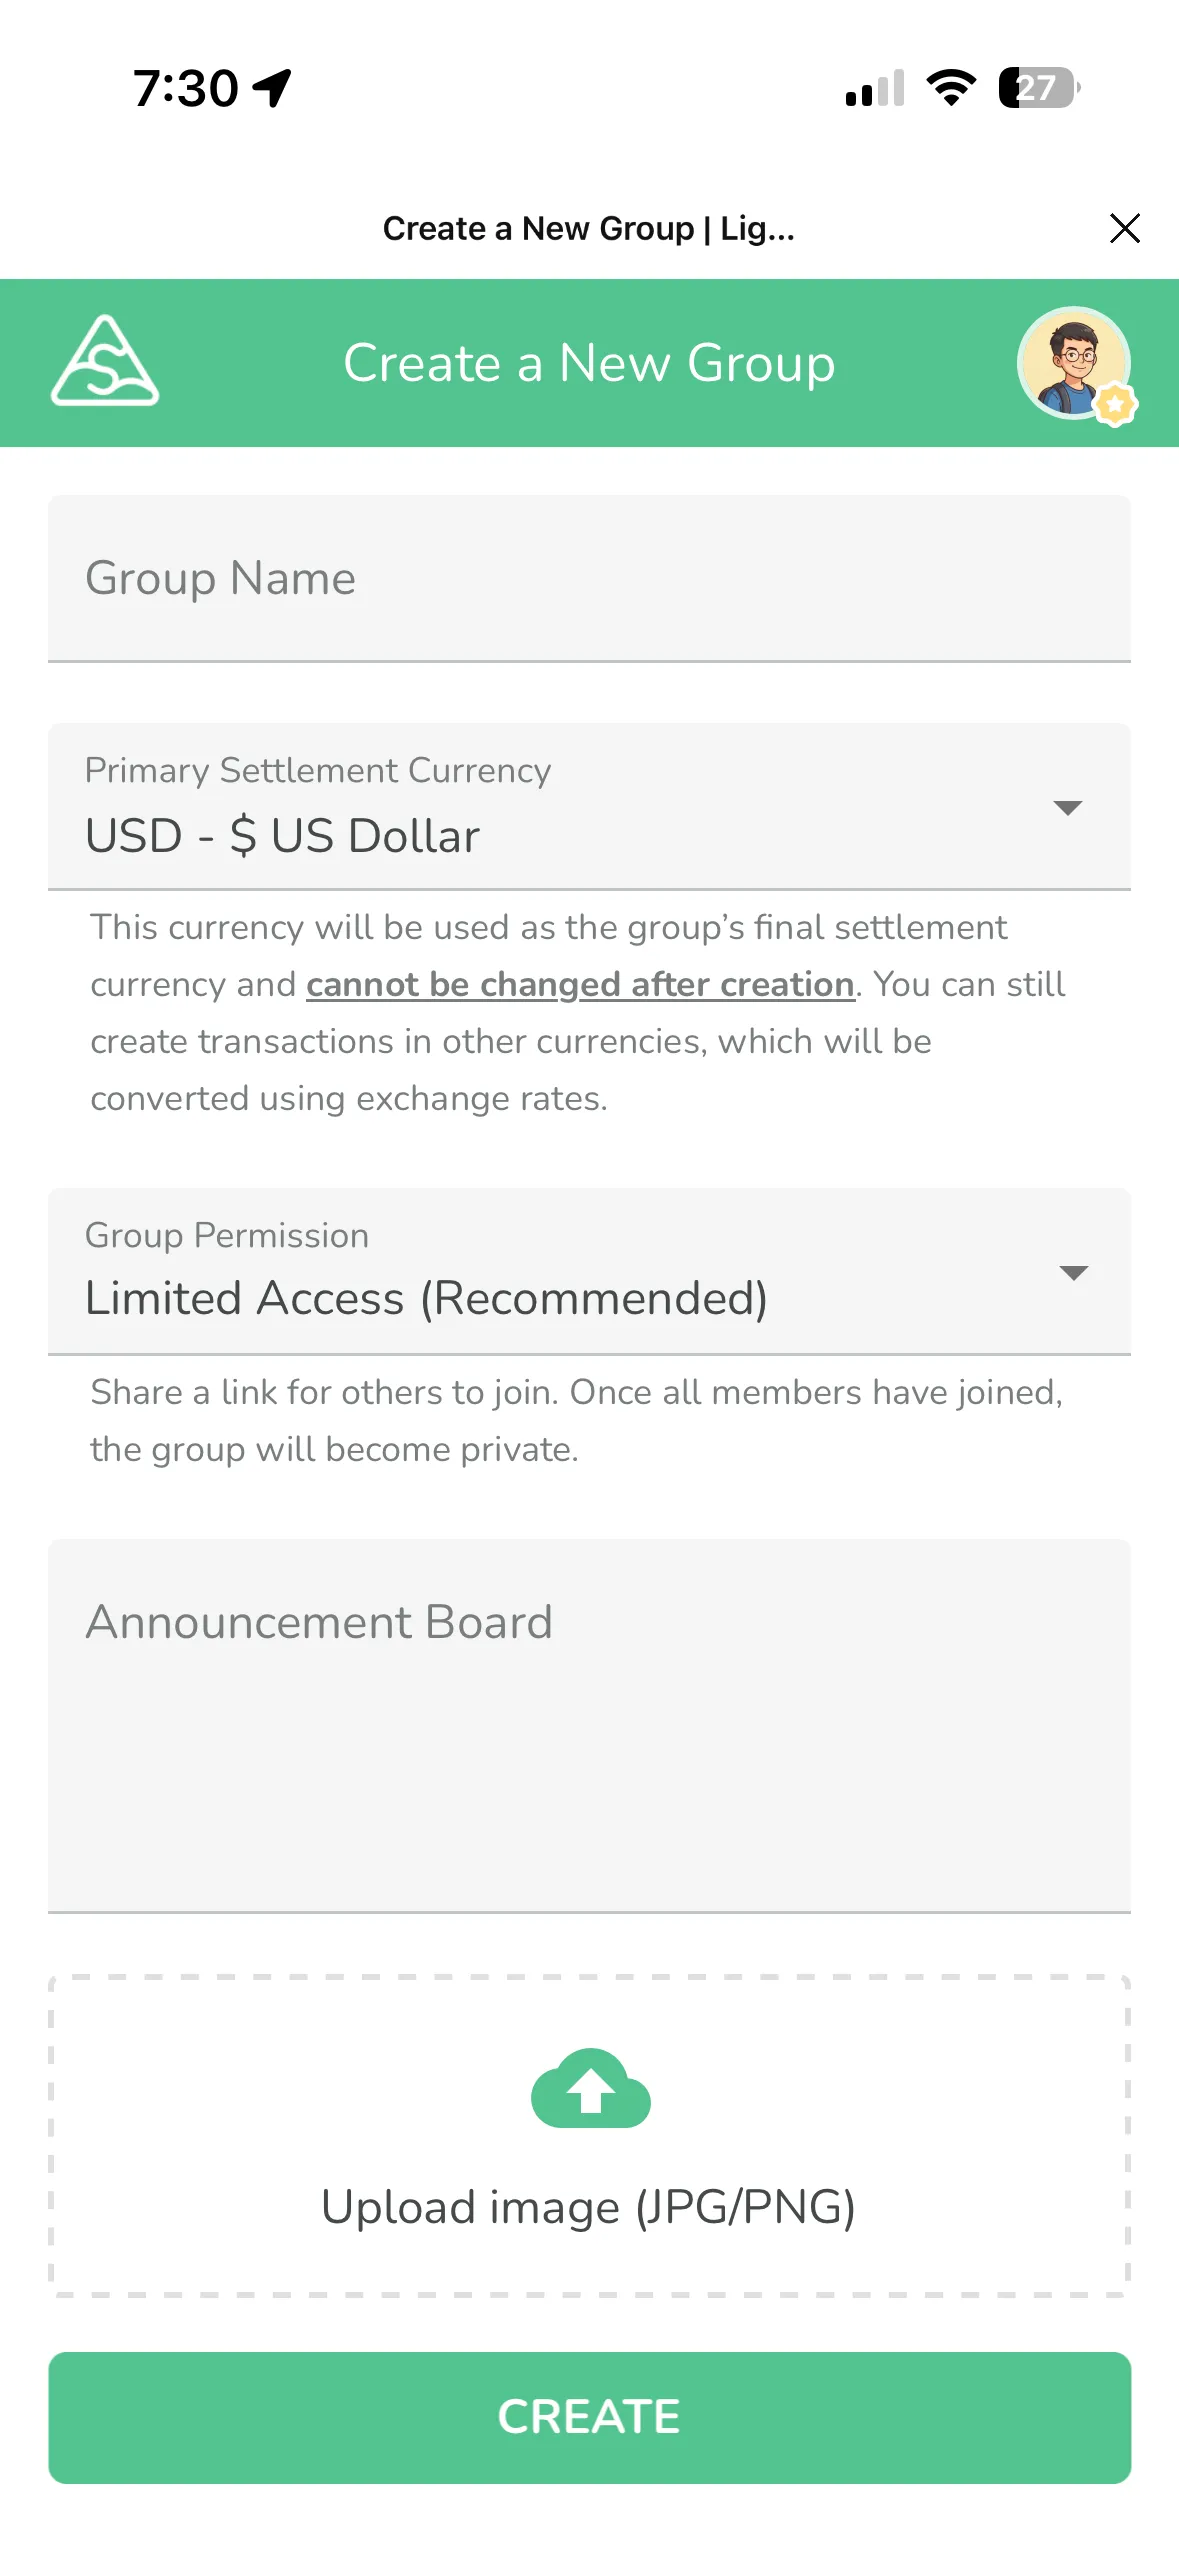
Group Settlement Currency
When you create a group, you can set a "settlement currency" like USD.
After that, no matter what currency you use for individual expenses (yen, euros, baht), everything gets converted to USD for the final settlement. Everyone sees the result in the same currency without doing any math.
Important: The settlement currency can't be changed after the group is created, so set it up before your trip!
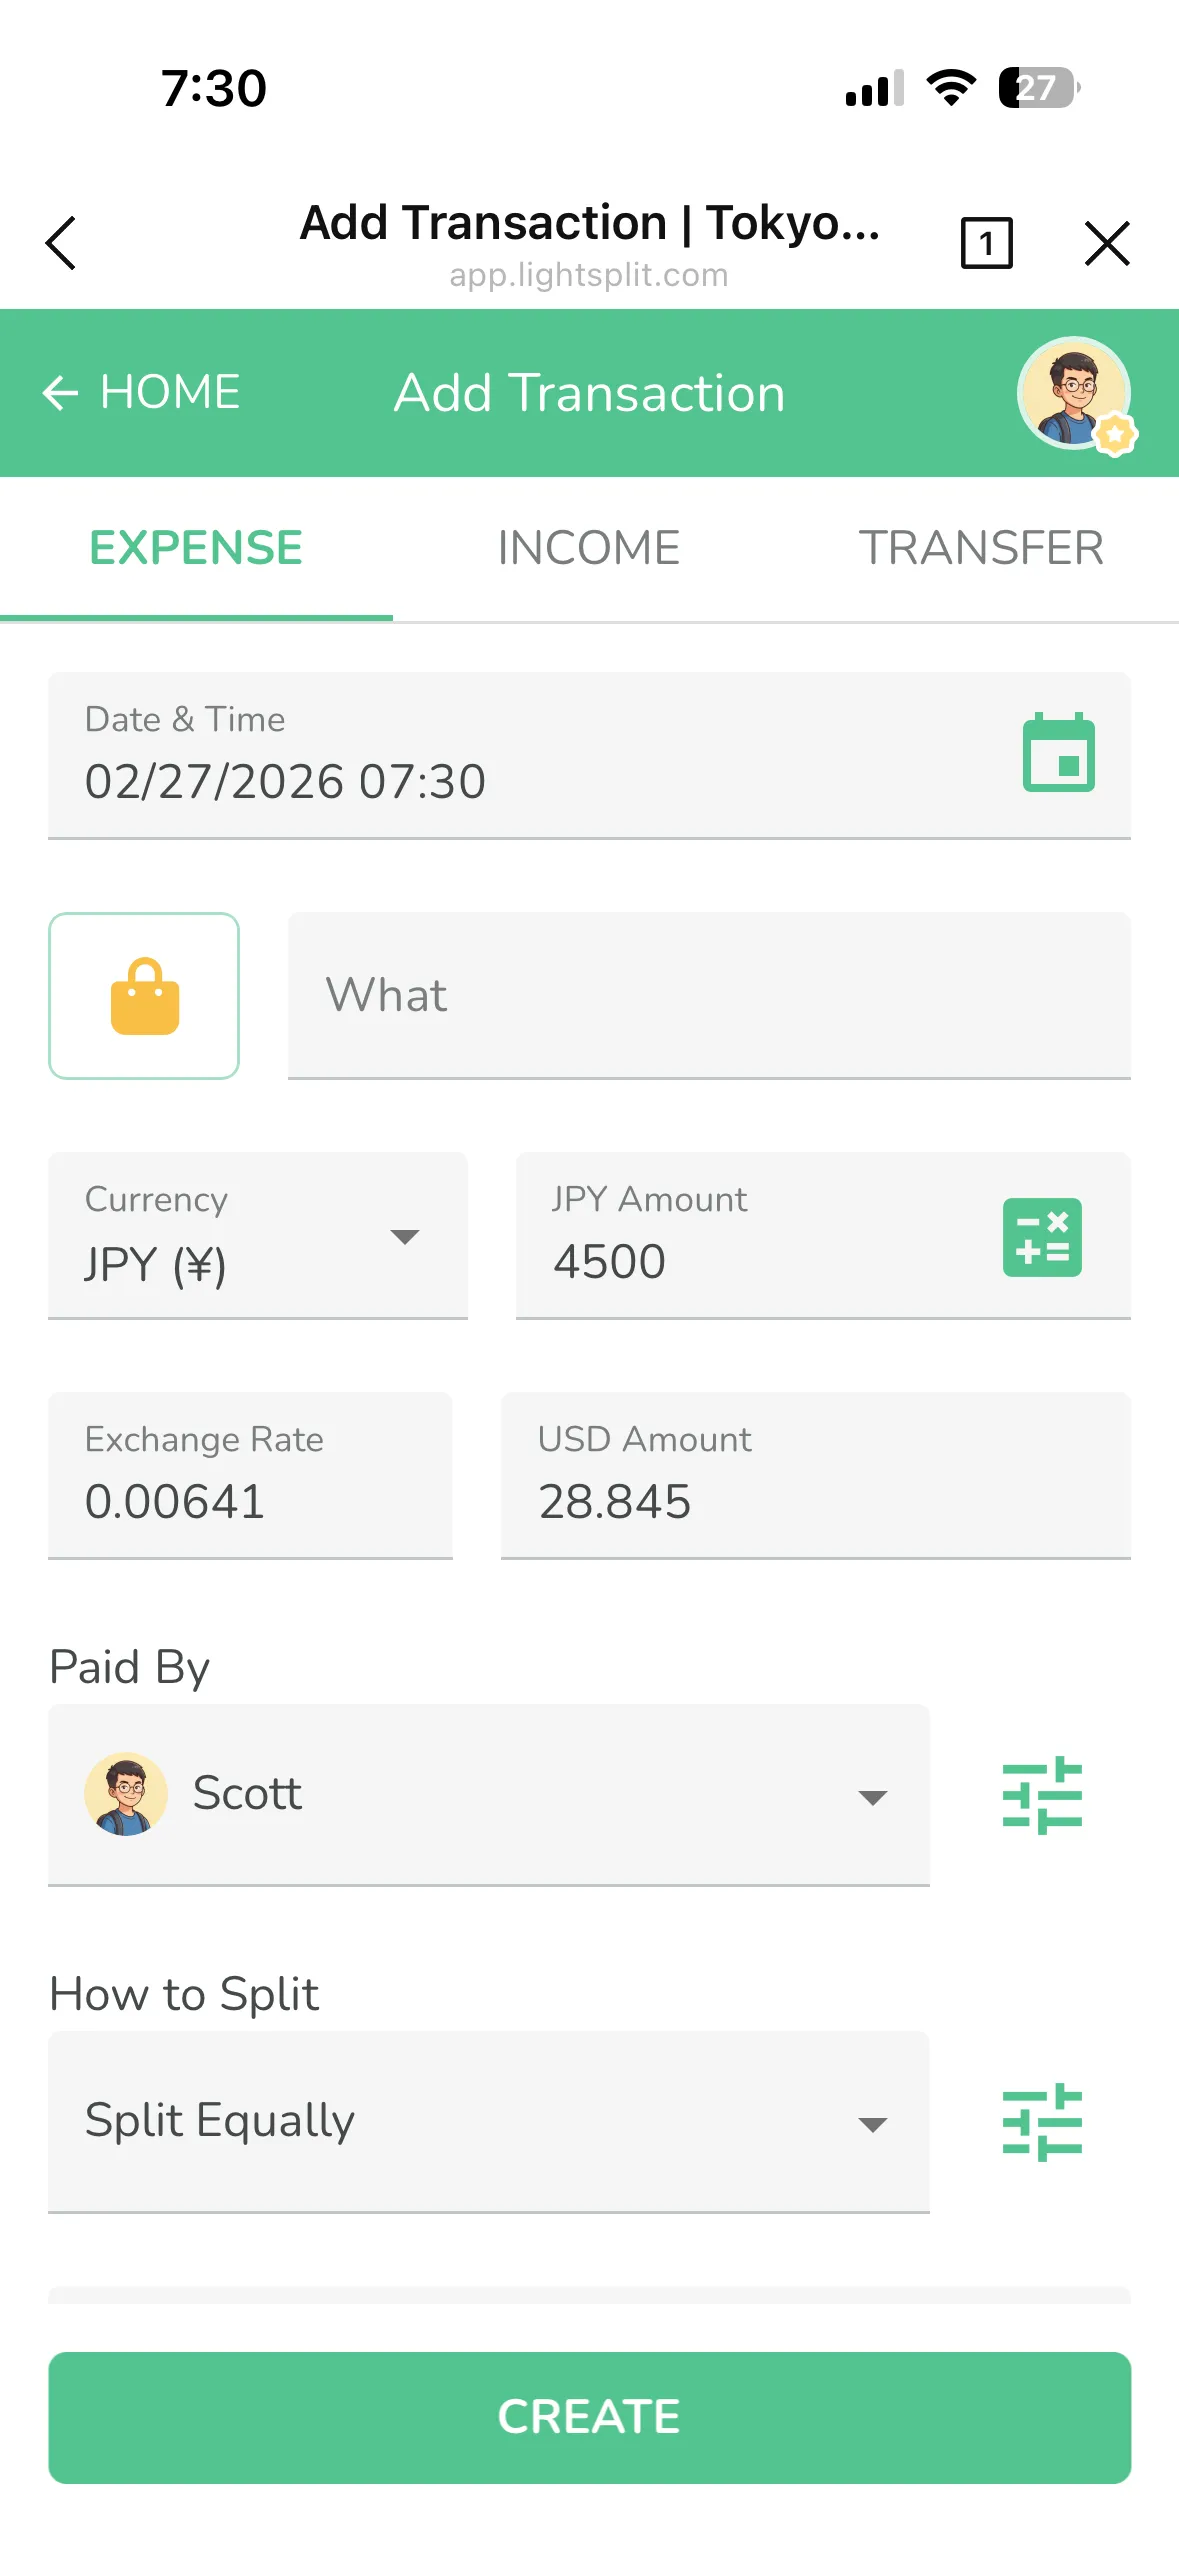
Auto Exchange Rate
When you add an expense, you can pick the currency. In Japan? Select JPY. In Thailand? Select THB. In Europe? Select EUR.
Once you pick the currency, the system automatically pulls the real-time exchange rate and converts it to your settlement currency. No need to look anything up. Super convenient!
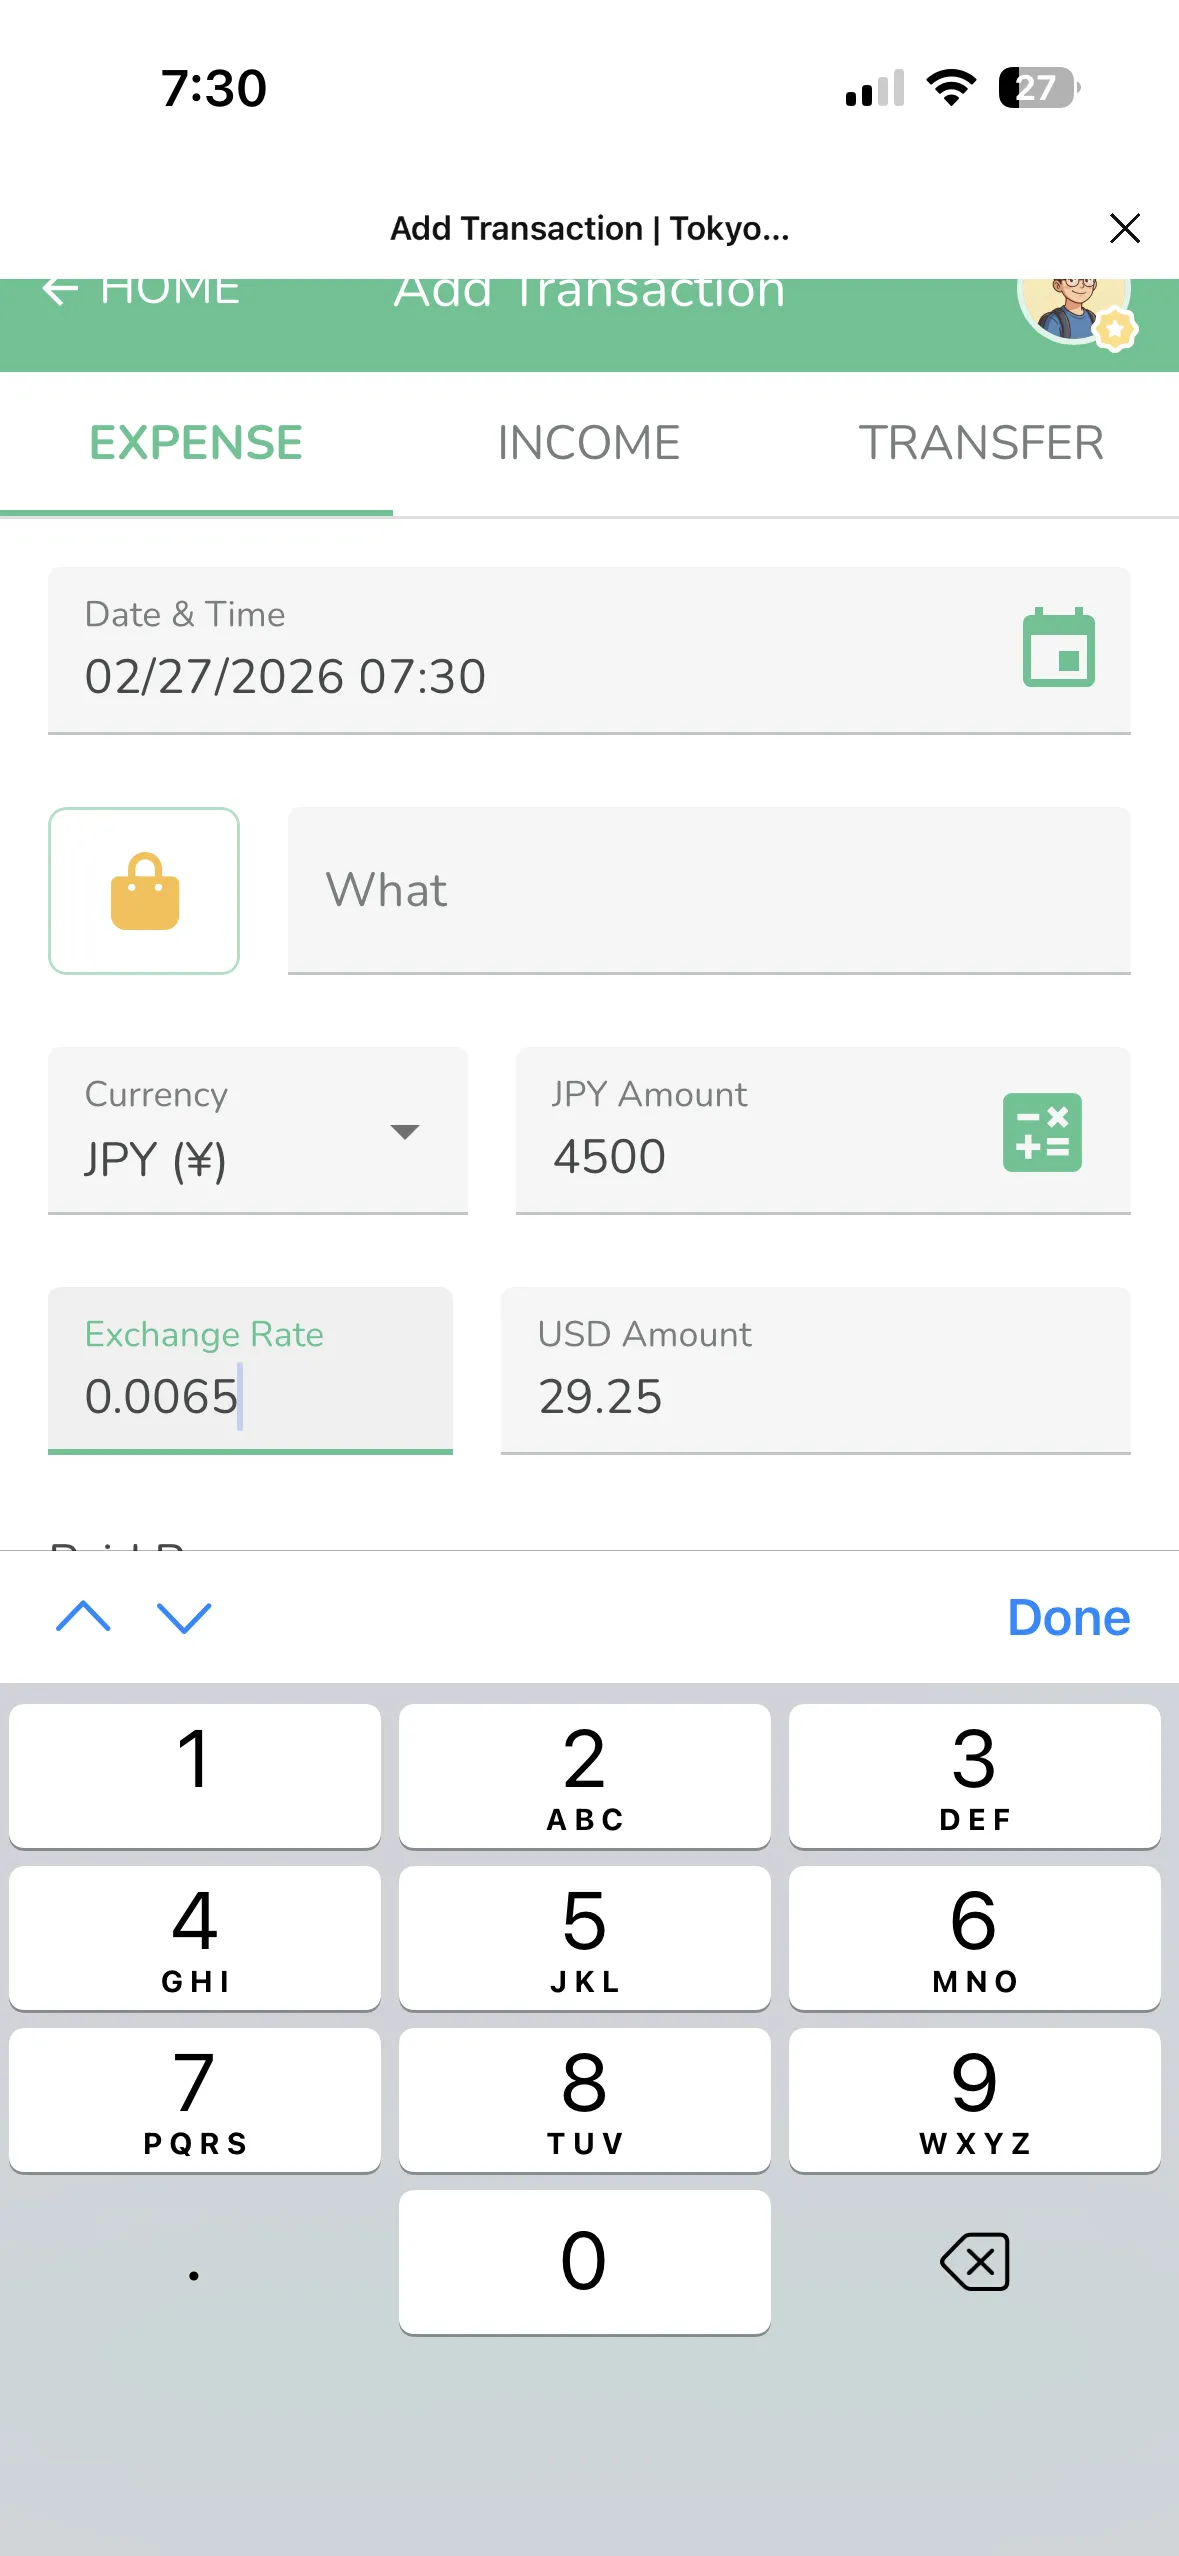
Custom Exchange Rate
Sometimes the rate you got at the airport or bank is different from the market rate. No problem. Lightsplit lets you enter the exchange rate manually.
Say you exchanged money at the airport at a rate of 0.0065. Just change it to 0.0065 and you're done. This only affects that one expense. Everything else stays the same.
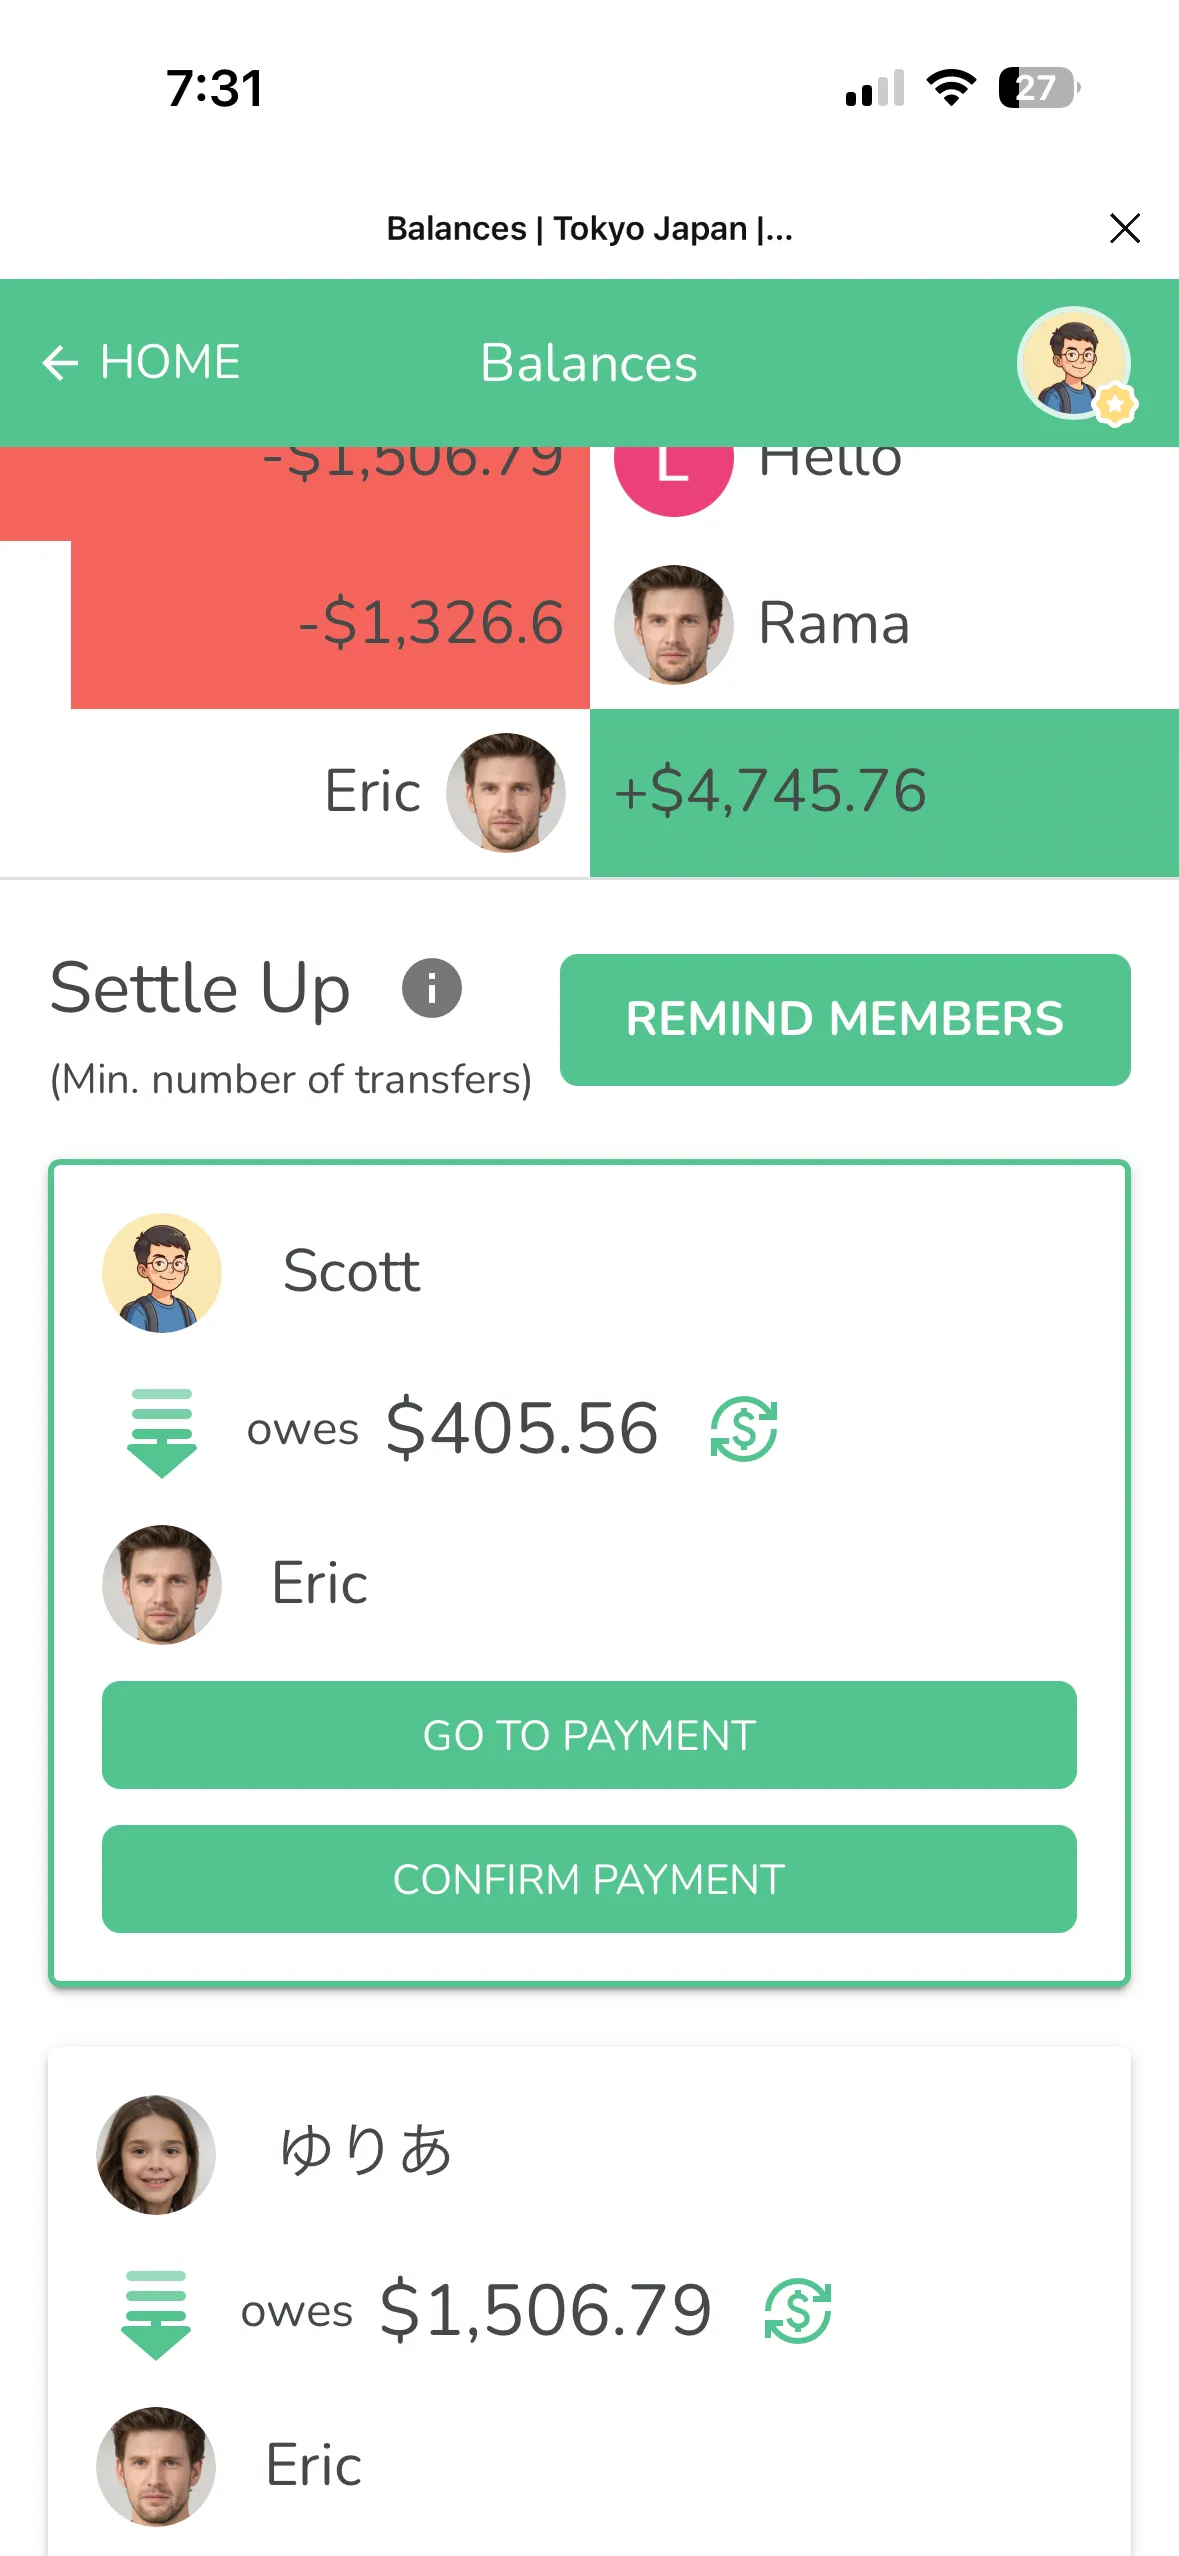
Switch Currency at Settlement
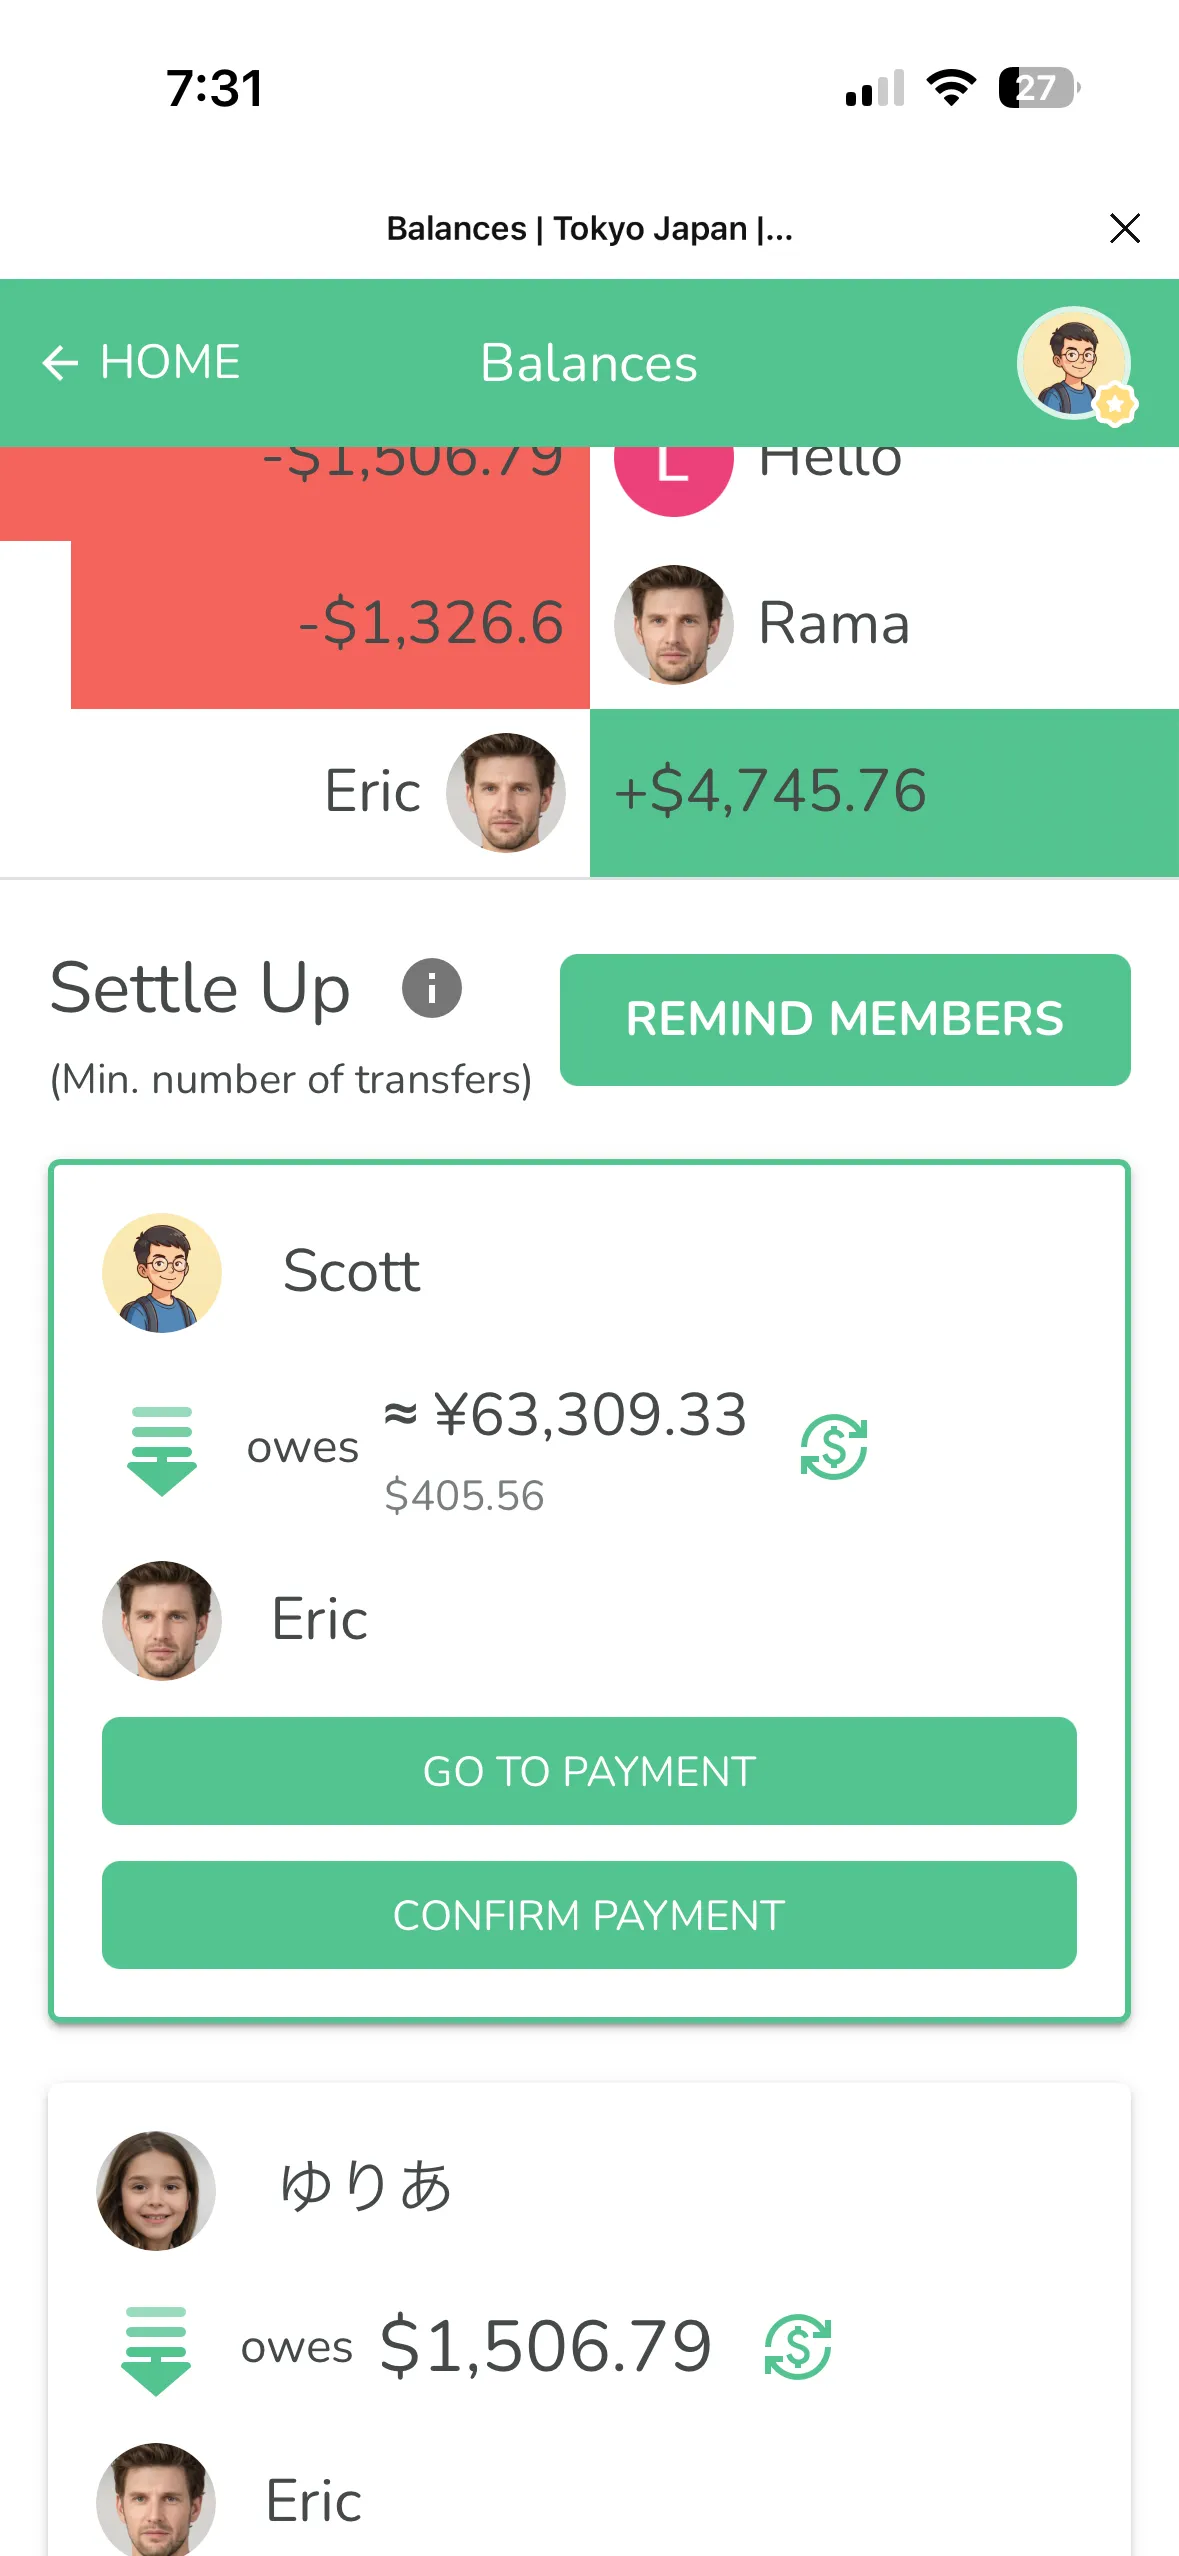
When it's time to settle up, Lightsplit shows you who owes who and how much.
Even better, you can switch the display currency on the settlement page. View it in USD, view it in yen. This way, no matter how you're sending money to your friends, you'll know exactly how much to transfer.

Step-by-Step Guide
Step 1: Create a group, set settlement currency
Open Lightsplit and create a new group (e.g., "Tokyo Japan"). Set the settlement currency to USD.
Step 2: Add members
Add all your travel buddies to the group.
Step 3: Add an expense in JPY
When someone pays for something during the trip, add an expense. Pick JPY as the currency and enter the yen amount.
Step 4: Confirm the exchange rate
The system pulls the real-time rate automatically. If you want to use a different rate (like the one you actually got when exchanging money), you can change it manually.
Step 5: Settle up
Once all expenses are recorded, open the settlement page. The system calculates everything automatically. You can switch currencies to see the amounts in whatever's most useful for you.
Tips
- Settlement currency can't be changed after creation. Set up your group before the trip
- You can mix multiple currencies in the same trip. Spent some dollars at the airport on the way to Japan? No problem
- Custom exchange rates only apply to that one expense. Other entries aren't affected
- Exchange rates are captured at the time of entry. They won't auto-update later, so just double-check when you record
Traveling abroad is tiring enough. Don't let splitting bills make it worse. Try Lightsplit's multi-currency feature at lightsplit.com!